Saturday, April 30, 2022

Sisterhood of Snarky Stampers #209


The Edna and The Sisterhood are back with another challenge for you to try.  Our prompt for the next fortnight is Underwater.  
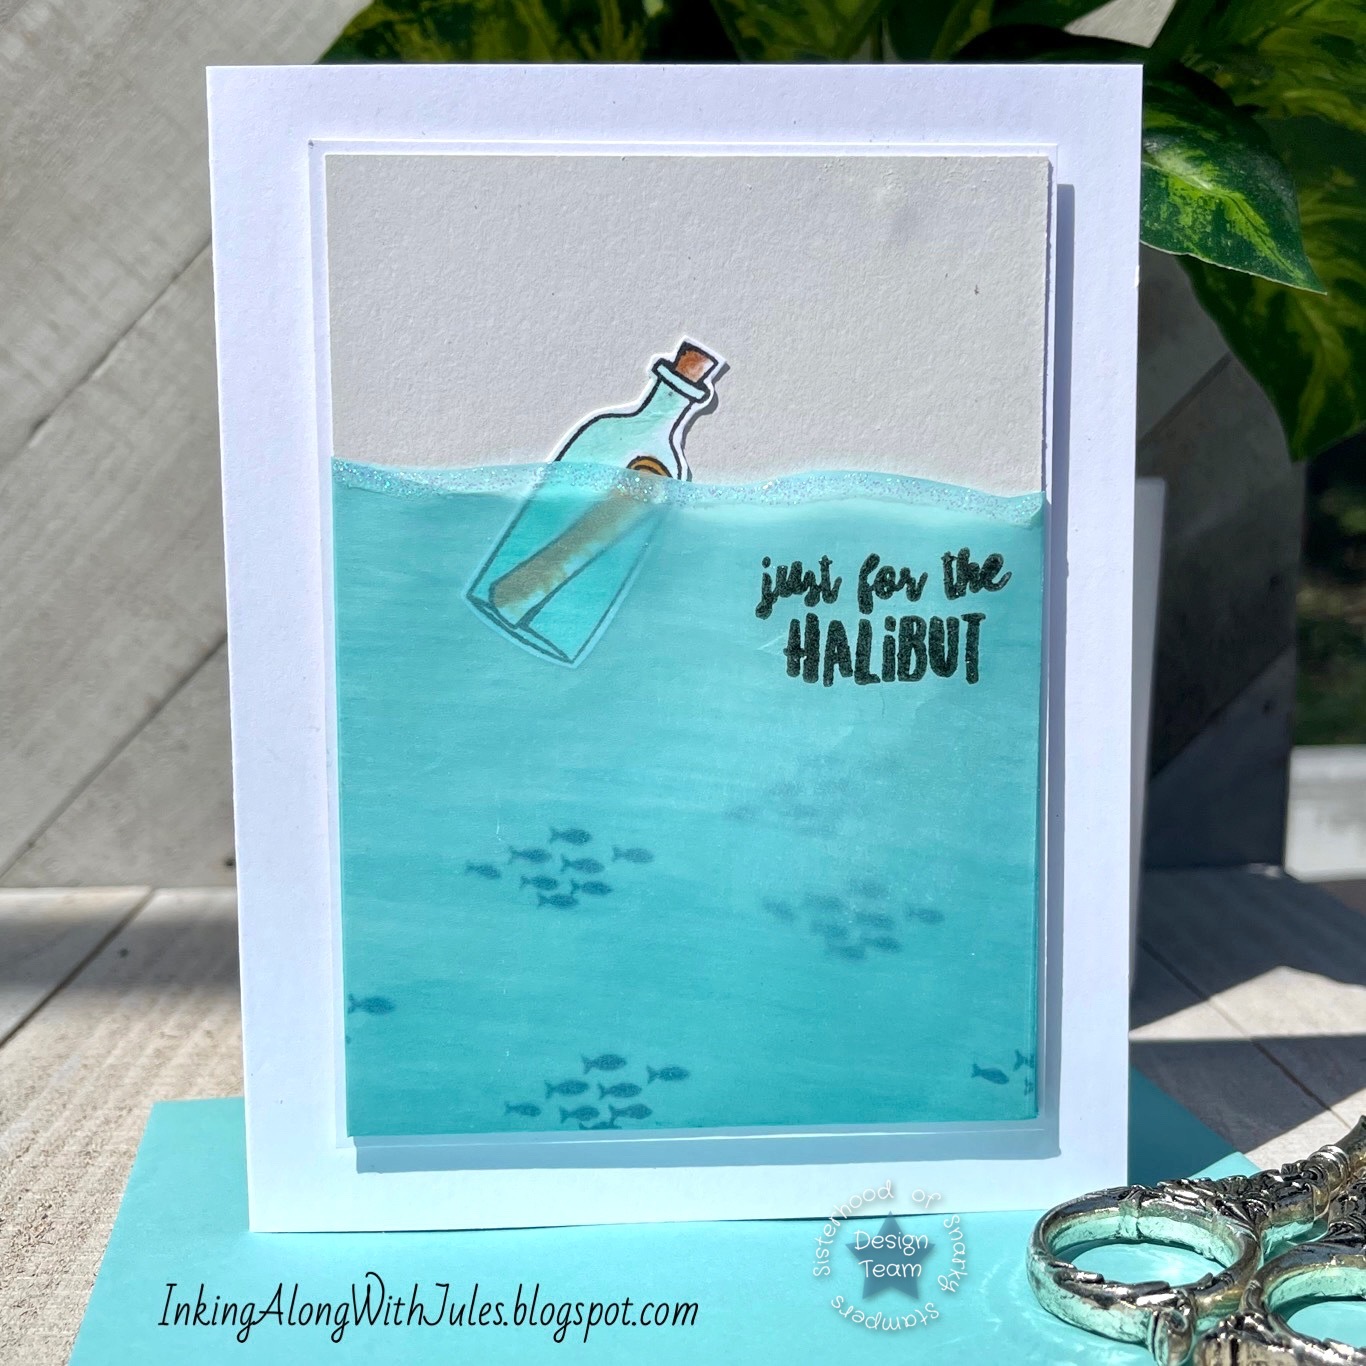

I was so tempted to create yet another shark card
 but went for something a bit more out of the box.


And now for our awesome graphic from Lee!
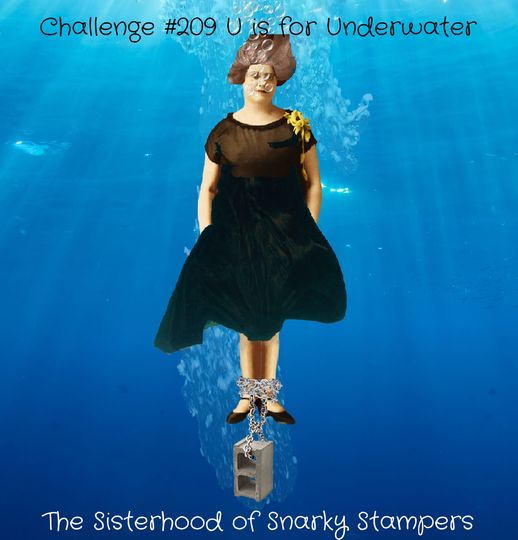
Ever have days like this?  


After deciding on the stamp and sentiment I worked on the background.  I applied a couple of drops of alcohol ink to the back of a piece of vellum using a sponge dauber to spread out the ink.  Once dry I stamped/heat embossed the sentiment onto the front using black pigment ink and clear embossing powder.  The schools of fish were stamped directly onto a panel of light grey cardstock matted with white.  I folded the vellum around three sides of the panel, adhering it onto the backside with double sided tape.  I tucked the bottle under the waves and added some Stickles to finish off the top edge.  The panel was then popped up with some fun foam for a bit of added interest and dimension.


Supplies:
Ellen Hutson - Stay Salty stamp set
Ellen Hutson - S'Whale stamp set
vellum
alcohol ink
Stickles


I invite you to come visit our blog for more underwater inspiration from my fellow Sistahs as well as our Reigning Queen of Snark, Monika.


As always, thanks so much for spending a bit of your day with me!

Jules

Thursday, April 28, 2022

Seize the Birthday #237


Can you believe it's time again already for a new Seize the Birthday challenge?  My days/weeks/months all seem to run together nowadays.  Please tell me that I' not alone.


My focal point is a huge clue to the new Topping.  


My card started with the butterfly stamp and die.  I chose to do some heat embossing onto vellum to create the wings which I adhered to the pink cardstock body at only the center point.  I taped off the top portion of a white panel and ink blended a very subtle ombre onto the lower portion.  The panel was then run through my die cutter with a pegboard cover die.  After heat embossing the sentiment in white onto a strip of black cardstock, all that was left was to assemble the components and add a few clear aqua droplets.  

Whether you're Team Butterfly or Team Hummingbird we are excited to see your creations.  If you're not a Toppings sort of person then any birthday card works.  Come visit our blog for more inspiration.  We hope to see you in our gallery!

Supplies:
MFT Brilliant Butterflies stamp and die set
MFT - Bitty Birthday Wishes stamp set
MFT - Pegboard Cover Up
Studio Katia - gems


Thank you so much for spending a bit of your day with me.

Jules 

Saturday, April 23, 2022

Color Hues #39

 
I'm back today with another non DT challenge card.  (Yay me!)  This time I'm playing with my friends over at the Color Hues blog.  You all know by now that purple is not a favorite of mine but I dove in feet first.


I stamped the background in a Copic friendly ink and then proceeded to color it in using three shades of purples and two shades of green.  I cut down the panel and matted it with gold cardstock.  The sentiment and shadow are stacked three high for some dimension.  All that was left was some pearl embellishments.  

Supplies:
Simon Says Stamp - Interlocking Leaves cling stamp
Simon Says Stamp - Thanks die and shadow
Honeybee Stamps - gold pearl stickers
Tonic Studios - honey gold cardstock 


As always, thanks so much for spending a bit of your day with me!

Jules


Thursday, April 21, 2022

Just Us Girls #628


I found myself with some extra time on my hands yesterday which is a rare occurrence in this multigenerational household.  Today I'm playing with the gals at JUGS (Just Us Girls) where the prompt is one I couldn't pass up.    


Red/Black/White


There is something about this color combo 
that always has me striving for a international vibe.


This is a very simple design however it does require some masking.  I stamped the beret and suitcase onto the blank background before stamping them once again onto masking paper.  I masked these images before stamping the bear.  I created another mask for him before stamping the tower.  All that was left was to do some alcohol ink coloring.  Voila! (See what I did there?  LOL!)


Supplies:
Ellen Hutson - Bear Ware Grand Tour


As always, thanks so much for spending a bit of your day with me!

Jules

Saturday, April 16, 2022

Sisterhood of Snarky Stampers #208


Edna and the Sisterhood are back with another technique challenge for you to try.  Today we're asking you to incorporate Layers into your design.  There are many ways to do this and we're looking forward to seeing your creativity.  

My layers are two-fold.  You can see by the front of my card that I overlapped an abstract image stamp to create some layers behind my paper pieced old biddie.  


The snark is revealed once the card is opened.


And in my mind, flashing means the removal and/or exposing of layers.  
Subtle, right?  :-)


This is Layers to the Extreme!  


To create my card I began with the overlapped stamping of the background onto a panel of white cardstock.  I stamped the Ethel (not her real name) onto both white cardstock as well as a piece of lavender patterned paper.  I fussy cut the dress and adhered it to the stamped piece which I also fussy cut right up to the edge (sans balloon.)  The coloring and shading were both done with Copic markers after which I adhered her to the background, stamping the balloon straight onto the background before also coloring it in.  I popped up the stamped sentiment, gave the panel a narrow border with a coordinating color and adhered the finished panel to an A2 card front.  I stamped the inside sentiment onto a separate piece of cardstock before adhering it to the inside.  I added some two hearts die cut from the same paper as Ethel’s dress to give it a bit more presence.  


Supplies:
Art Impressions - Never Too Old to Laugh stamp set
Stamplorations - Some Snark stamp set (designed by our own Chris Dring!)
Ellen Hutson - Abstract Nature
HoneyBee Stamps - Modern Spring 6x6 paper


I invite you to come visit our blog for more layering inspiration from my fellow Sistahs as well as our Reigning Queen of Snark, Rachel.


As always, thanks so much for spending a bit of your day with me!

Jules

Thursday, April 14, 2022

Perfectly CAS - April Challenge


Calling all CAS card makers!  The Perfectly CAS card blog would love for you to join in our challenges.  This month our theme is Gold.

The idea behind the PCAS challenge is to use only 1/3 of the front panel in your design.  This isn't always as easy as it sounds.  


I've found that the use of a transparent 4.25" x 5.5"grid as an overlay is extremely useful when creating a design.  The easiest way to explain my process is to determine the total number of squares on your grid and divide by three.  Your finished design should use only this number of squares.  


I utilized the scraps from a previous alcohol inked background to create the colors you see peeking from behind the die cut panel.   I also used it for the sentiment grounding strip as well as the tiny die cut hearts.  The sentiment is from a pre-printed package of foiled greetings.  I popped the panel onto the white card base with some fun foam.  This is an easy card to recreate and it uses almost exactly 1/3 of the squares according to my transparent overlay grid.  :-)

Supplies:
Pink Fresh Studio - Foiled Sentiment pack
Ellen Hutson - Alpine Snowfall die
Ranger alcohol inks
Martha Stewart - heart punch 

Check us out here for more inspiration and come play along!


Thank you so much for spending a bit of your day with me.

Jules

Seize the Birthday #236


It's Lindsey's turn to choose the Seize the Birthday topping this week and she is asking us to showcase Signs of Spring on our cards.  

Nothing says spring like flowers so I opted for a large floral stamp that covers the entirety of my card panel.


I began by stamping the image onto a white card panel and giving it a quick and loose coloring with Copic markers.  I matted the panel with an "ever so slightly" larger panel of black cardstock and then adhered it to a green card base.  The sentiment is from a pre-printed sheet which helps make this card super simple to recreate.  All that was left was a sprinkling of pretty pearls.

Supplies:
Altenew - Delicate Bouquet stamp set
Simon Says Stamp - Reverse Sassy Birthday printed sentiments
Trinity Stamps - Luminous Lemon Baubles


I invite you to visit our blog for more inspiration from my fellow teamies!

Thank you so much for spending a bit of your day with me.

Jules